
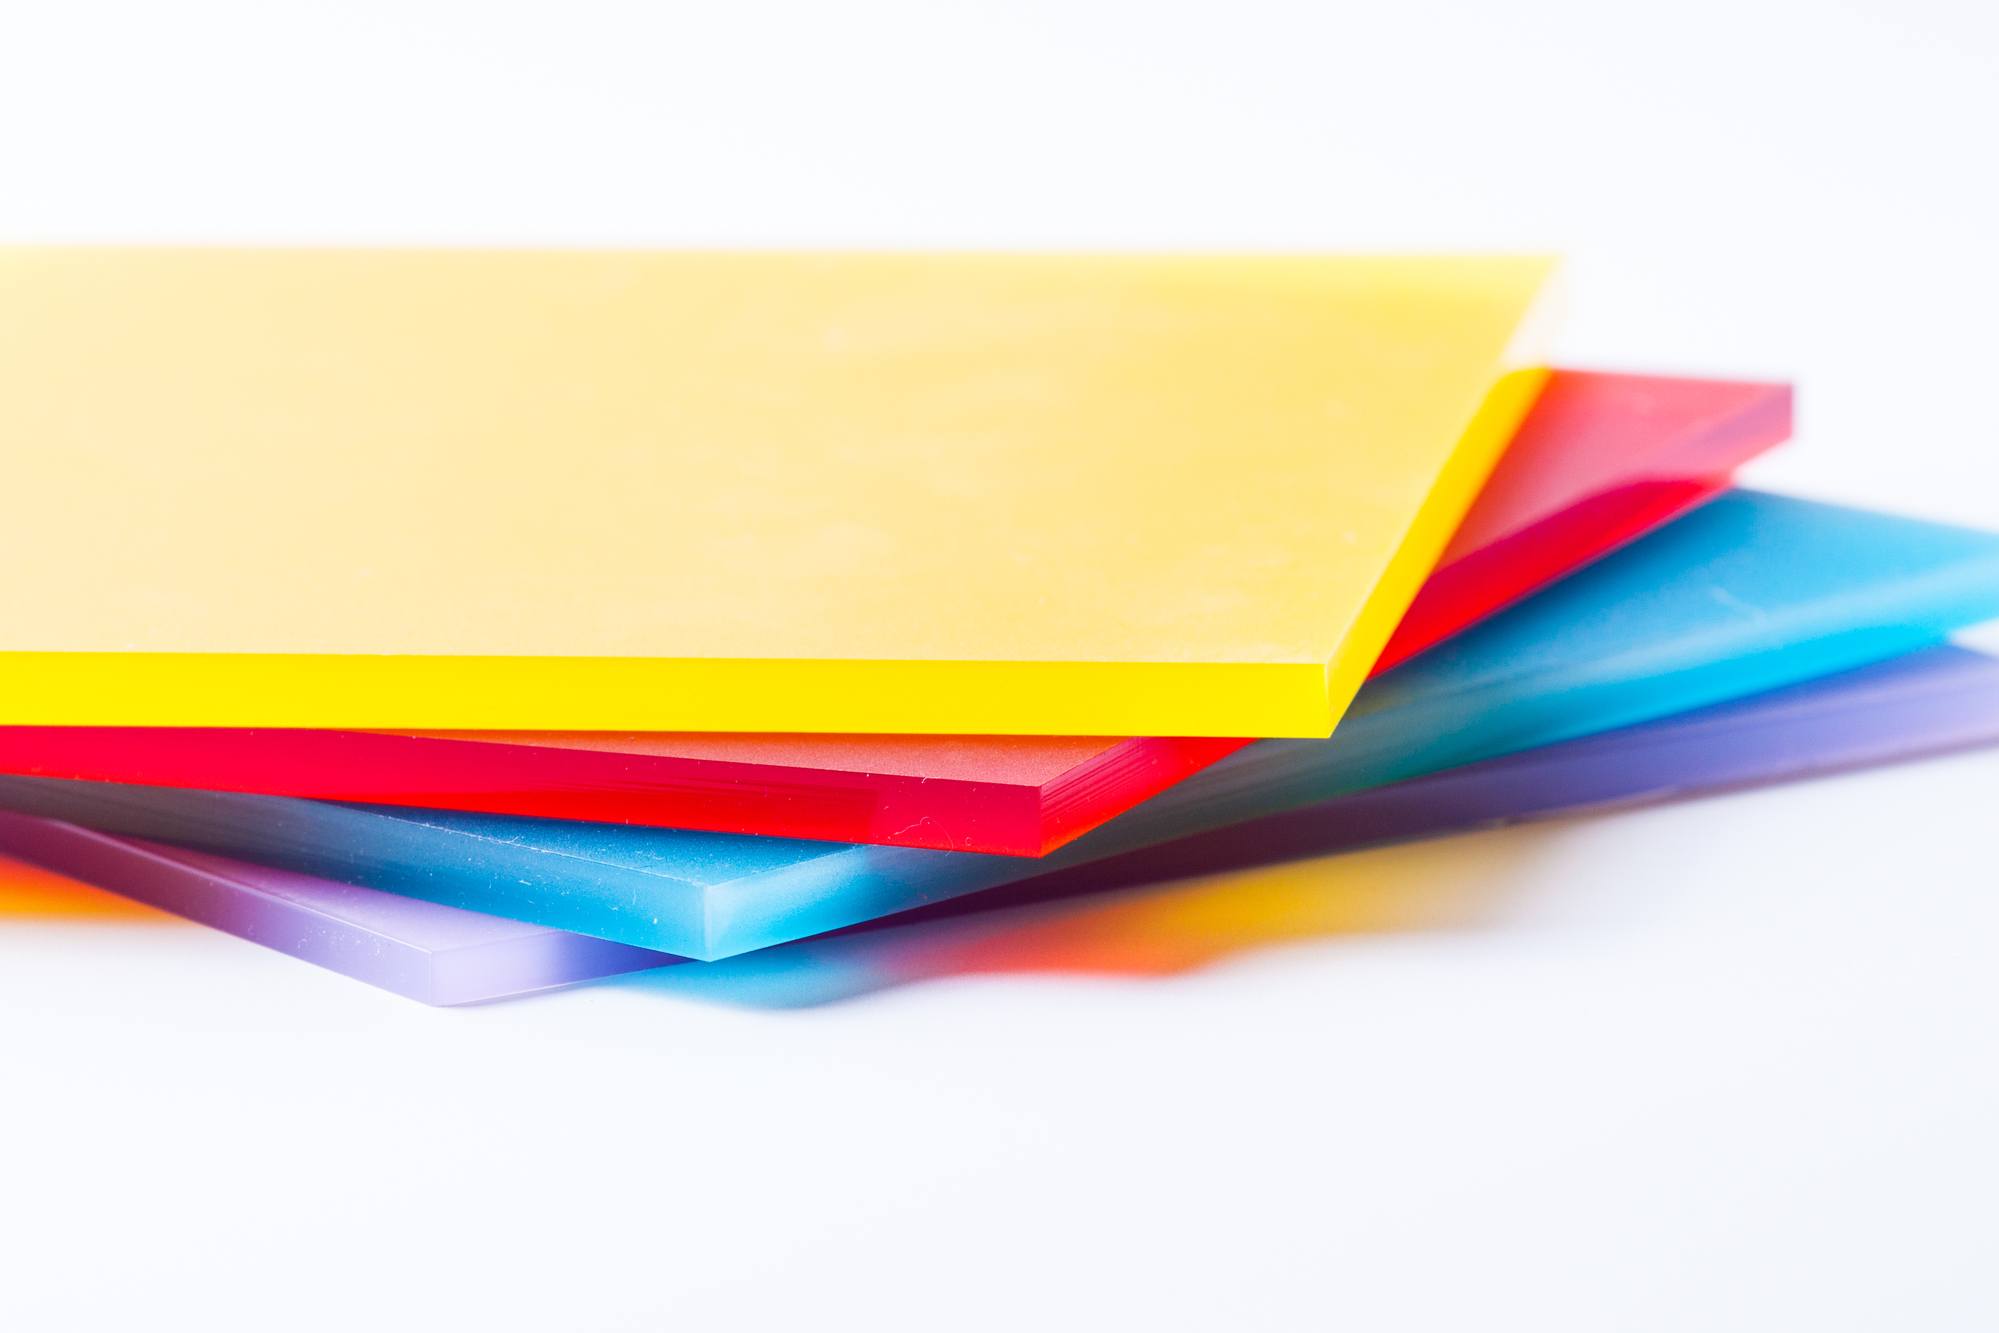
Most of us in the modern world are familiar with Plexiglas because it is so prevalent in our everyday lives. Plexiglas is lightweight, durable, and safer than standard glass. It is used in a myriad of industrial and home applications.
Beyond being some type of plastic however, many people don’t really know much about it and its origin.
A Bit ‘o History
Plexiglas is the synthetic form of methyl methacrylate which had several chemists’ work involved in its creation in its early years of development. Discovered in 1865, methacrylic acid makes up a part of the basis for acrylic plastic. The process of polymerization (the bonding of 2 or more monomers to form a polymer) was discovered by two German chemists, Fittig and Paul, while researching its properties in 1877.
It wasn’t until 1933 however, that practical uses for methacrylic acid were discovered by German chemist Otto Rohm who created many acrylic and methacrylic compounds. He later trademarked his work under the name Plexiglas. The first industrial use of Plexiglas came during World War 2 when it was used as a lightweight substitute for glass in airplane windows and in the gun turrets of fighter planes.
Today, many companies have their own brand of acrylic plastic registered under various names such as Lucite, Acrylite, and Perspex and many others but people still use the word Plexiglas as a general term. It’s like calling any tissue a Kleenex.
With plastic so prevalent in the home today, many handymen and handywomen are taking on home projects using Plexiglas (or other acrylics) to make their own tables, outdoor furniture, aquariums and more. Unless you have the proper instruction, cutting Plexiglas can be problematic. Rough edges, chipped pieces and spider cracks around drilled holes are all common occurances when cutting or trimming plastic.
Cutting Plexiglas
Many do-it-yourselfers enjoy taking on a new project and learning the ins and outs as they go. Many others are not so happy when faced with a new project they are not sure how to do. Cutting acrylic yourself for home projects can be intimidating but honestly, is something that with a little know-how, practically anyone can do.
To cut a thin piece of acrylic (up to 3/16th of an inch) you’ll need a sharp blade like the type found in a utility knife but any sharp knife blade will do.
Using a yardstick or straight edge and a marker, first measure then draw the line down the sheet you’re going to cut. On a flat surface such as a worktable or bench, score (or trace) with the blade the line you have just drawn. Don’t press very hard as you score the line because you are going to score it many times before it is ready to be detached from the sheet. Be sure to secure or clamp your straight edge so it doesn’t float while scoring. You want every pass to follow your setline. Slow and steady. Repeat this perhaps 10 times or more.
Turn the sheet over and repeat the process. When deeply scored deeply enough, place the sheet on a flat surface (off the ground) with your scored line right at the outer edge of your work surface. Now clamp the sheet’s corners to the table. Some place a piece of wood over the sheet and clamp that down on top. With the part you are going to cut hanging over the edge, using both hands, grasp the plastic near the center and apply even pressure very quickly to the sheet. With the proper force and speed, it should snap off cleanly.
New edges usually require some sanding or buffing to smooth out; also, placing a piece of tape around where you’re going to drill a hole will help prevent cracking.
Power Tools
For thicker pieces, follow the same procedure but use a power saw for the cutting. They make saw blades expressly for cutting acrylic. If using a used blade, be sure the teeth are evenly spaced and of the same height.
Caution! The blade can get hot so water cool it while working or take a break after a short cut before resuming. If not, you can crack the glass.


