
By far the one aspect of painting a room that intimidates most people from attempting it themselves is the fear of cutting in. Cutting in is being able to paint neatly along the edge of your door jambs, baseboards, windows and antique hutches or kitchen cabinets without getting any paint on them.
Essentially, it’s framing an outline or border so you can paint the rest of the wall, often using a roller. It has been my experience that many people feel cutting in is beyond their skill set. The ability to cut-in separates the professional painter from the amateur and with a few tips and a little practice you too can learn to cut like a pro.
Before You Begin
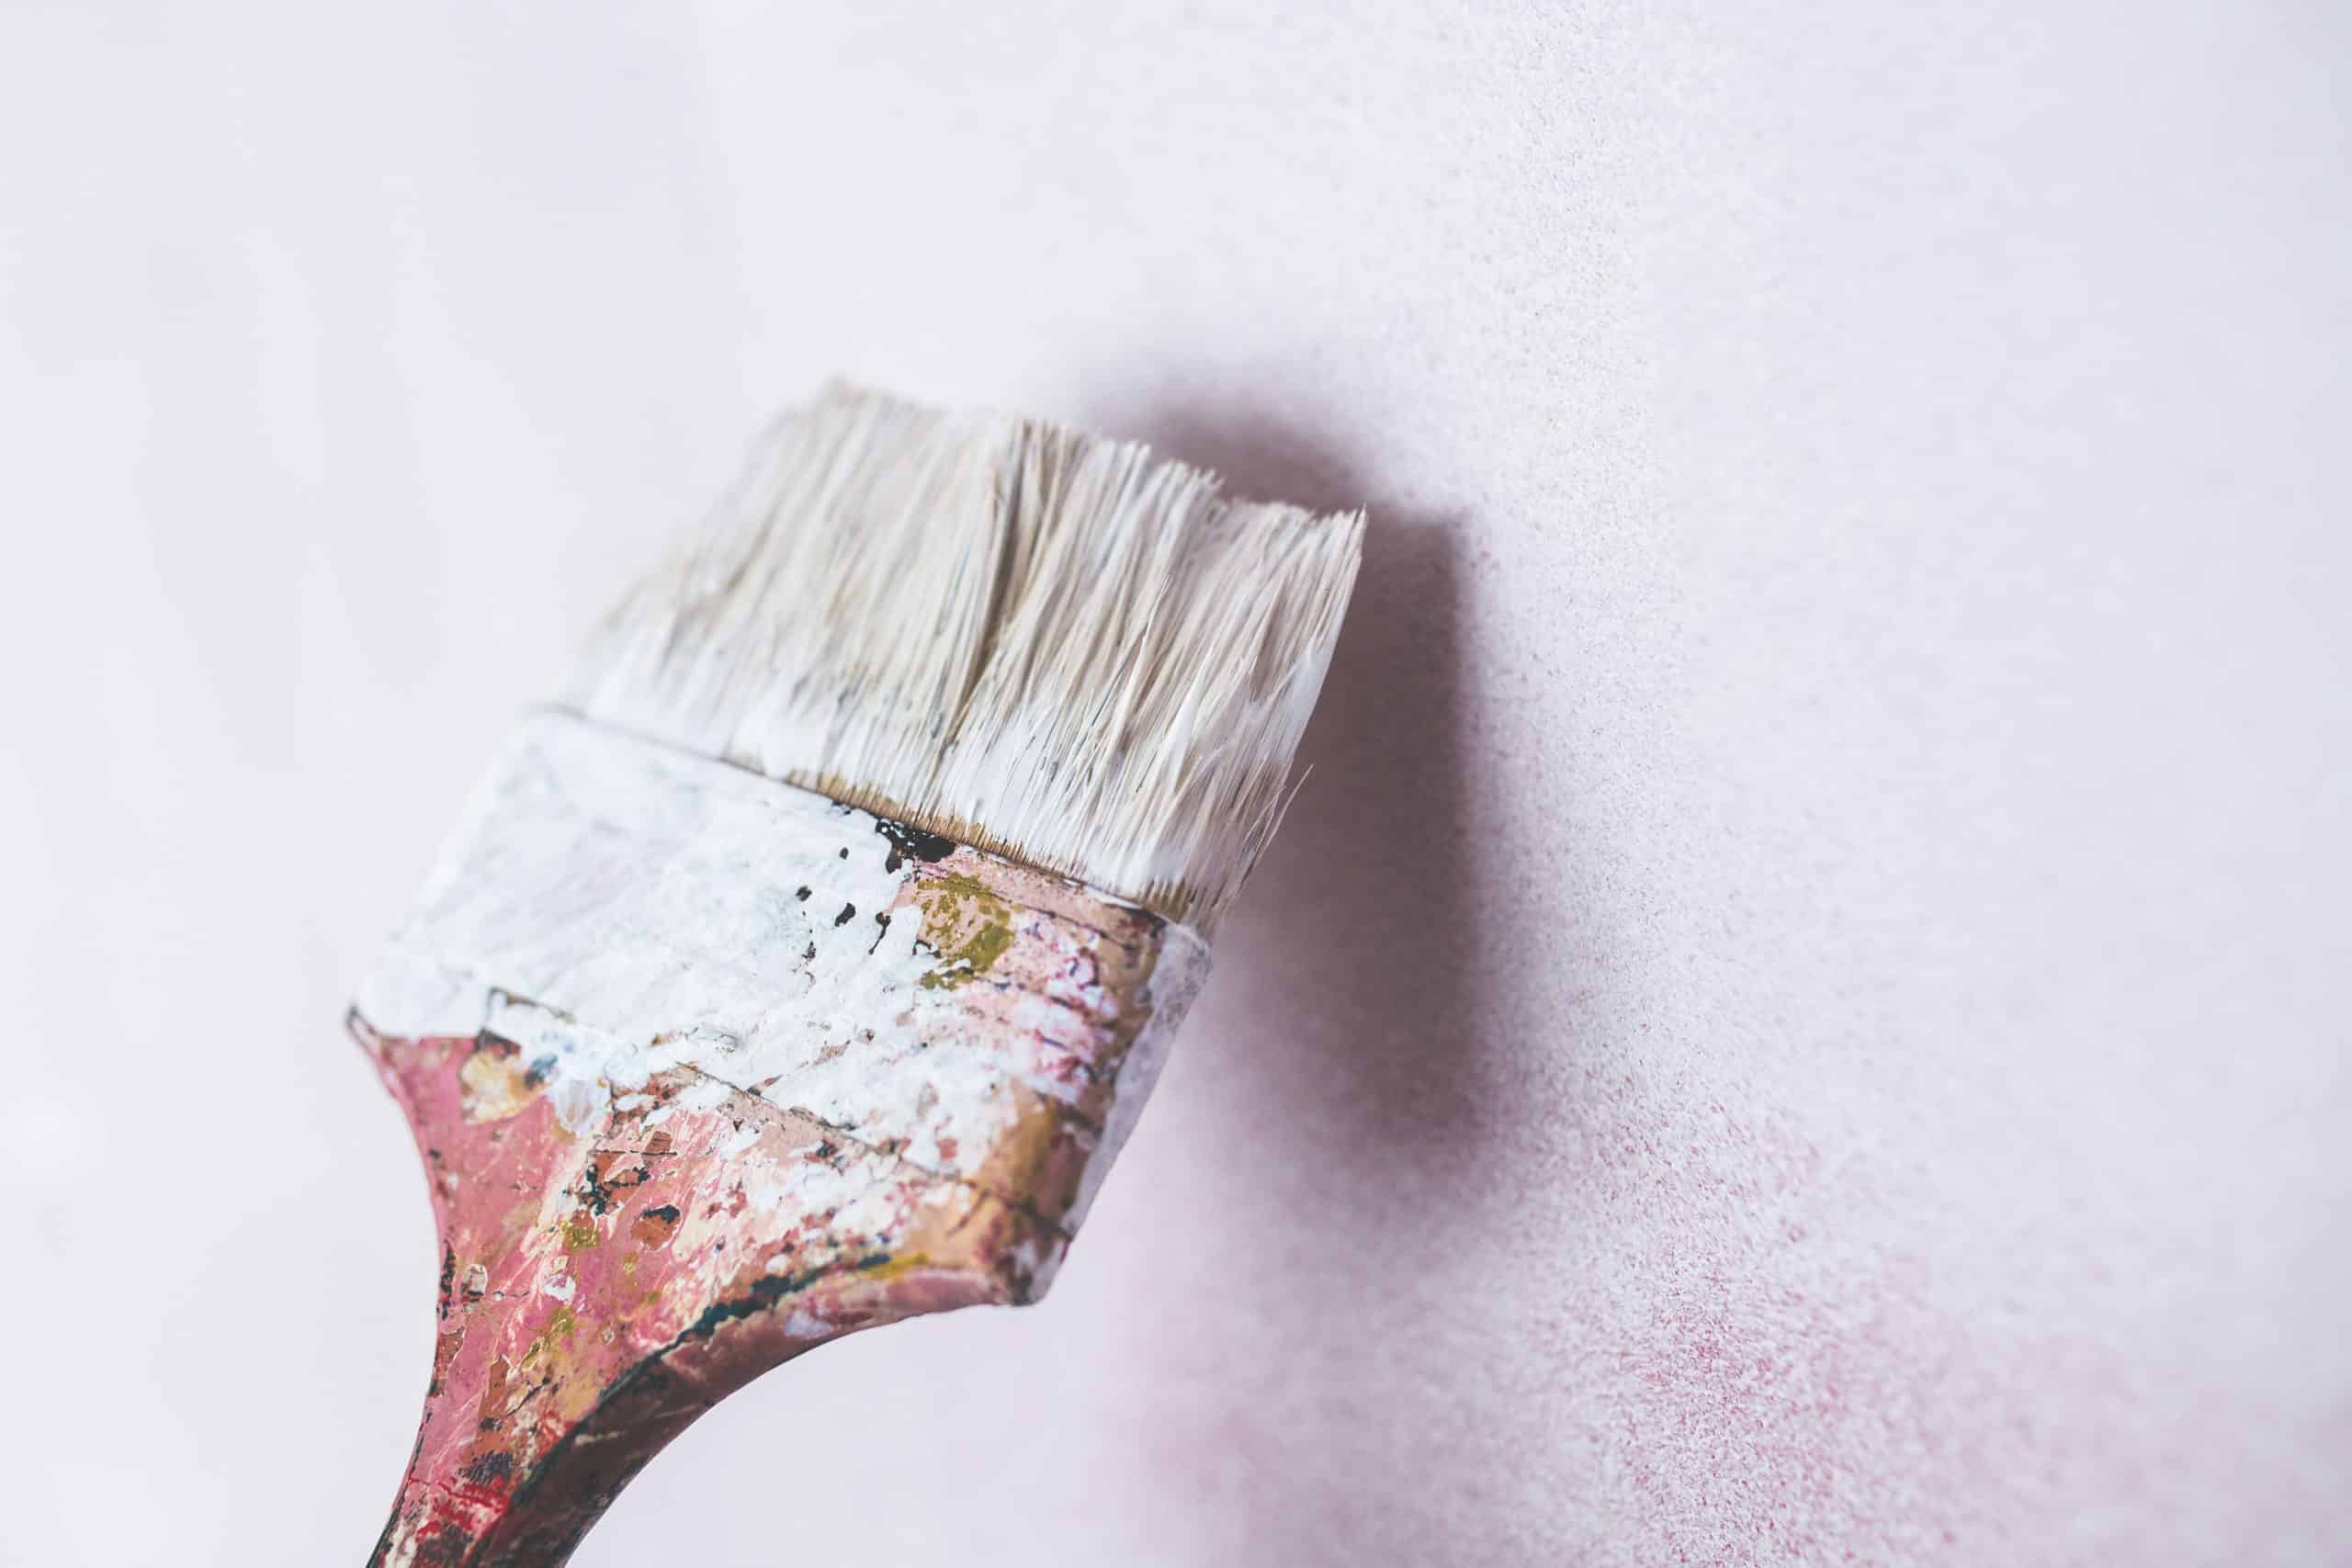
The first item you will need is a good paintbrush. A cheapo brush is worth its weight in dirt. It doesn’t hold paint, it has bristles that will splay (stick out) while you’re painting, and those pesky little hairs will reach out and touch the very parts you are so carefully trying to avoid.
I use a Purdy two and a half-inch sash brush, but any high quality brush will do. The sash brush bristles are cut at an angle which enables you to have more control of the paint and get that tip into corners. I recall once, while working in Tennessee, I was in a paint store looking at brushes when a lady with a strong southern accent approached me and asked if I could recommend a good brush. “You probably want a Purdy brush,” I told her. “Oh, I don’t care what it looks like” she replied, as long as it’s a good one!” True story.
Okay then, you have a good brush, so now make sure you have a good paint. A good paint will cover in one coat. That’s what you want. You don’t want to do all that cautious cutting in only to discover that when it dries it needs another coat of paint and you have to do it all over. Been there.
Getting Started
As an example, let’s say you’re cutting around the right side of a doorjamb. From your paint can, slightly dip and then gently wiggle your brush back and forth only until about an inch or so of paint is on the bristles. Wipe each side of the brush once on the inside rim of the can with a light upstroke to remove excess paint. Don’t press too hard when wiping. It’s a balance. You want enough paint to remain in the bristles to cut in effectively, but you don’t want it dripping off the brush either.
How To
The mistake most people make is they start with their brush right up against the edge of the jamb. That’s the problem. Start too close and the paint gets pushed into the edge you wanted not to paint. Here’s how to avoid that.
Begin at the top, about two inches away from the edge of the jamb. Place your brush on the wall vertically (straight up & down) and with a little pressure, pull straight down for about a foot or so. You’ll see the ridge of paint created by your downward stroke on your left. Go back to the top now and start atop that ridge with your brush pulling straight down again. The ridge of paint is getting thinner and closer to the edge of the jamb.
Repeat this process until the last stroke puts your paint (and your bristles) right up against the jamb. Usually, by the 3rd or 4th pull down (or a few more until you get the hang of it). On the last stroke there should not be a ridge of paint. It should be smooth and easily seam right up against the jamb. Dip your brush and put a little more paint on the entire area (brushing up and down) to ensure it covers well. You don’t have to get too close to the jamb again.
Be sure to brush out or feather the outside edge of paint (away from the door) with your brush until it’s smooth and there is no ridge. You do this so that when you begin to roll your walls you won’t have a dried, dark edge that remains visible through the painted walls.
It’s All the Same
When cutting in around windows, baseboards or crown moldings, it’s the same process. Begin away from your edge and gradually work your way toward it with steady, straight strokes. Be sure to apply enough paint to cover well and then feather the edges out. Feathering is important. You don’t want a ridge.
Don’t Stop in the Middle
Don’t let your cut-in dry overnight before finishing. Paint can dry funny and there’s a chance it won’t exactly match the next day. Even paint from the same can, can change hues when dried on different days so be sure to finish painting any walls you already have cut in.
Don’t stop painting in the middle of the wall either or the same thing can occur; especially if you have to buy more paint to finish up.
One More Tip
Should you run out of paint before you’re finished, be sure to buy the new paint from the same store from which you purchased the original batch to assure a perfectly matching color.
The End
So there you have it. A little practice first will go a long way toward gaining you the skill and confidence you need to tackle the dreaded…cutting in.
Good luck and happy painting!
